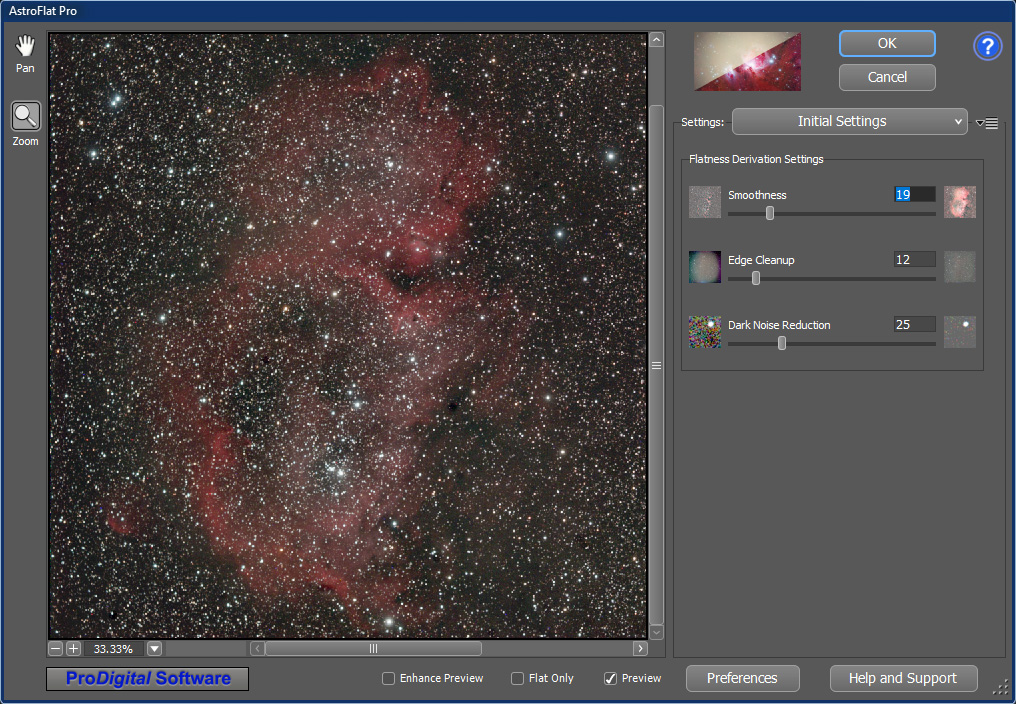
The Tools, accessible via the icons along the left edge, allow you to adjust how you see the image displayed in the viewport.
You can use these tools to set the portion of the image that is displayed (pan) and its magnification level (zoom).
See the Tools section for a complete description of these tools and their uses.
The settings all along the right side are what you will use to control the flattening.
Change the settings of the sliders (or enter values in the edit boxes) until your image looks just the way you want
in the Preview Viewport, then press the [ OK ] button.
See the Settings section for more info on just how to use these settings.
 OK and Cancel Buttons
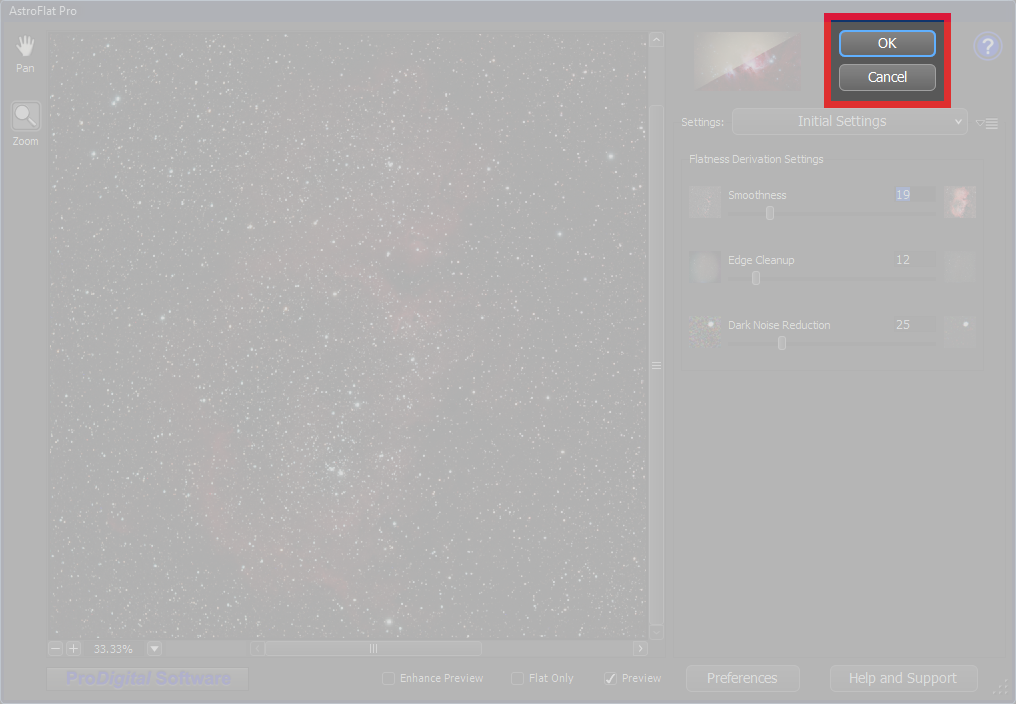
The [ OK ] button is used to commit your work back to your image.
The [ Cancel ] button may be used to quit the AstroFlat Pro plug-in
and return to your image editor without making any changes.
 Reset Button
When you hold down the Alt key, the main dialog's [ Cancel ] button changes to [ Reset ].
The [ Reset ] button, when pressed, will return all the parameters to their Initial Settings.
 Main Dialog